Customizing a private course
Ordering slices
After you’ve added slices to a course, you can rearrange them simply by clicking and dragging.
This controls the order in which the slices are displayed when your students view your course.
Adding headers
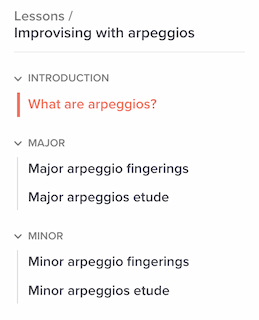
It can be nice for your students (and yourself!) to organize a course’s slices under relevant headers. This is simply a way to break up your content into sections, as in the “Introduction,” “Major” and “Minor” headers here:
To add a header, edit the course and click next to one of the slices, then choose “Add header.”
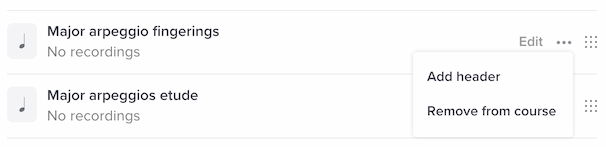
The new header will be inserted directly above that slice. You can then reorder it as you’d like.
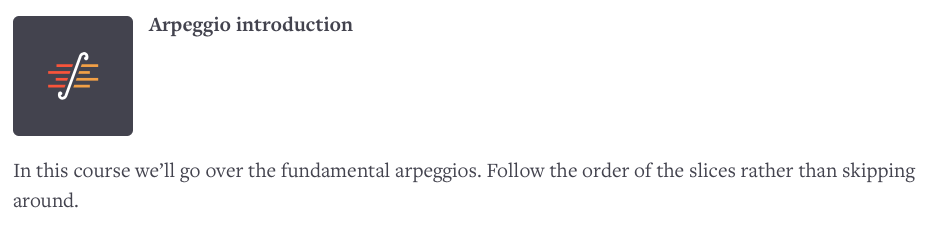
Adding a course image
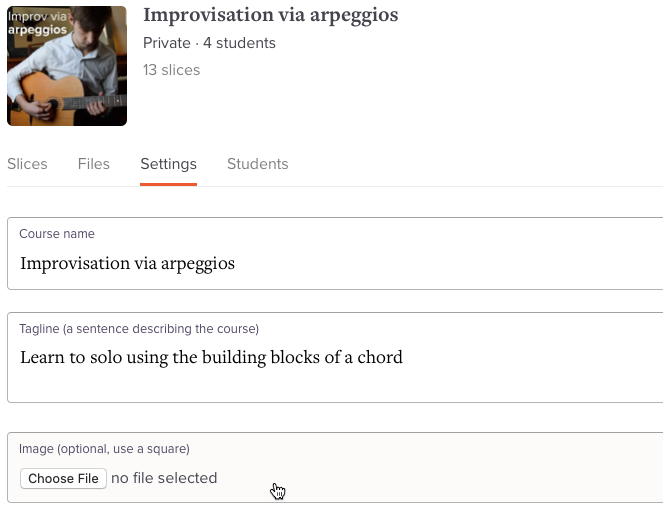
Adding a course image is a nice touch to help your students distinguish one course from another in their libraries. To add an image, select the “Image” field beneath your course’s “Settings” tab.
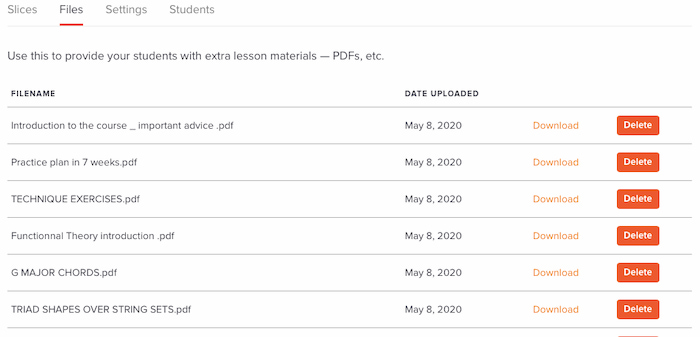
Attaching files
You can attach files to your course for students to download. This is a useful way to include backing track MP3s or PDF worksheets/diagrams that are supplemental to the material in your course’s slices. You can add attachments in the course’s “Files” tab.
Adding intro text
A course’s “Intro text” will display at the top of the course when the student opens it. This can be a nice place to add a greeting or any helpful information about navigating the course.
To add this message, fill out the “Intro text” field beneath the course’s “Settings” tab.